Category Archives: Uncategorized

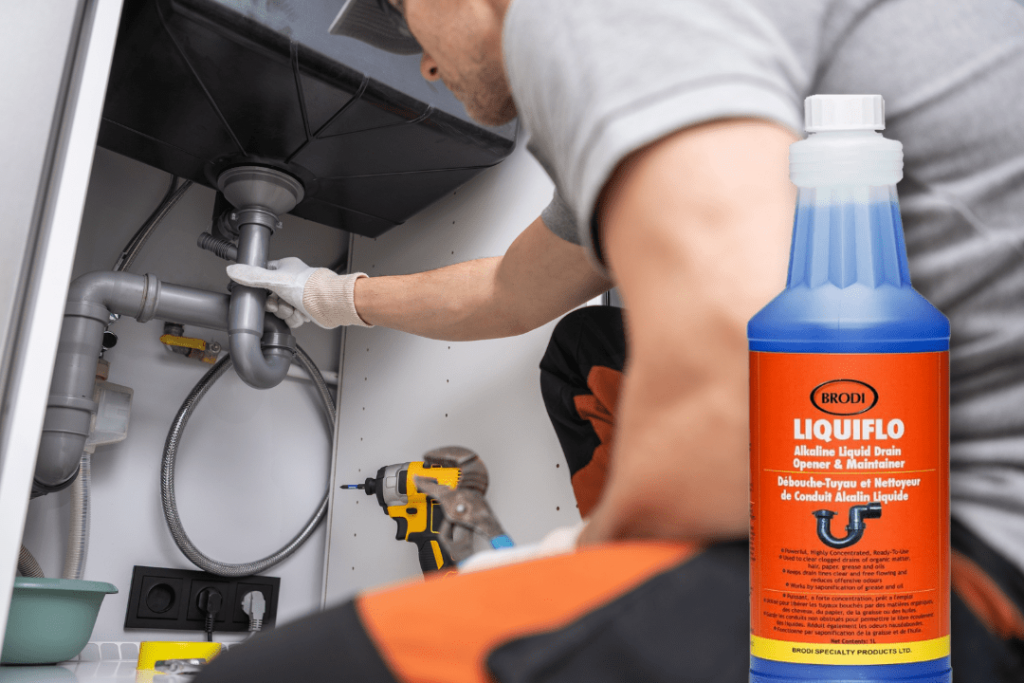
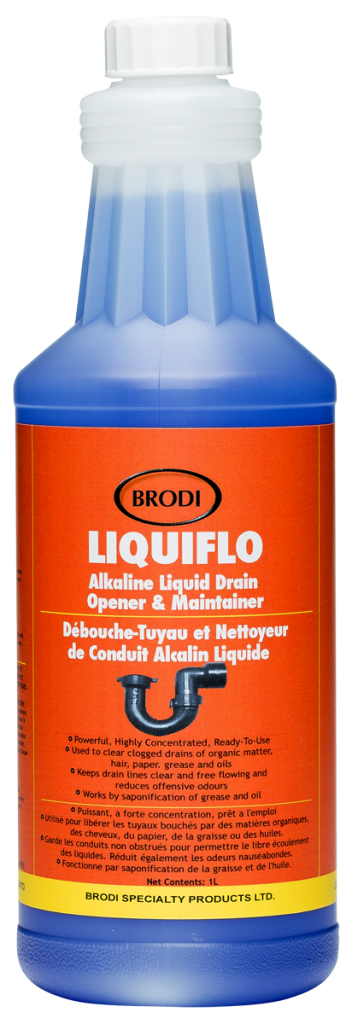
Combatting Biofilms in Hospitals: The Power of Liquiflo

Enter Liquiflo: The Ultimate Defense Against Biofilms in Hospitals

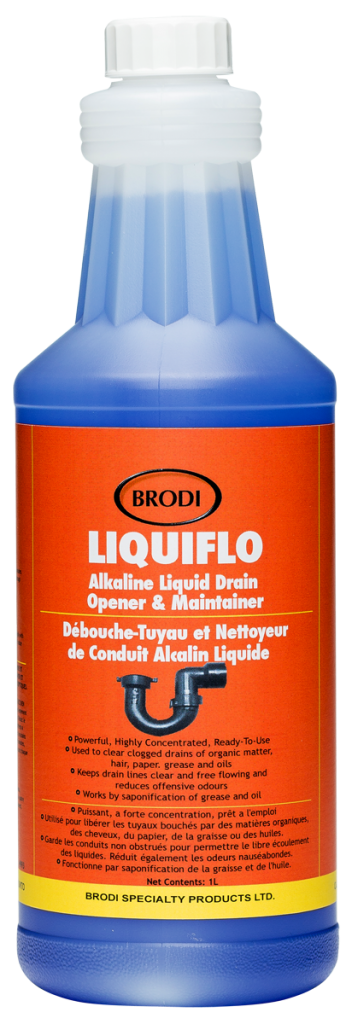
In the ongoing battle against healthcare-associated infections (HAIs), hospitals face a relentless adversary: biofilms. These microscopic, resilient clusters thrive on hospital surfaces, medical devices, and water systems, evading traditional cleaning methods and putting patient safety at risk. Enter Liquiflo, a revolutionary solution specifically designed to combat biofilms and elevate infection control to unprecedented levels.

What Are Biofilms and Why Are They a Problem?

Biofilms Defined:

Biofilms are highly organized communities of bacteria, fungi, and other microorganisms encased in a self-produced protective matrix. This matrix adheres to surfaces, acting as a shield that makes biofilms nearly impervious to conventional disinfectants and antibiotics.

Common Locations in Hospitals:

  • Medical Devices: Catheters, ventilators, surgical instruments, and implants are prime breeding grounds for biofilms.
  • Hospital Surfaces: High-contact areas like bed rails, operating tables, curtains, and counters.
  • Water Systems: Sinks, faucets, showerheads, and even ice machines can harbor biofilms, creating pathways for contamination.

Why Biofilms Are Dangerous:

  1. Resistance to Cleaning: Biofilms are notoriously difficult to remove, as their protective matrix prevents cleaning agents and disinfectants from reaching the microorganisms inside.
  2. Persistent Infections: Biofilms are responsible for a significant percentage of HAIs, including bloodstream infections, pneumonia, and urinary tract infections.
  3. Antibiotic Resistance: Microorganisms within biofilms can be up to 1,000 times more resistant to antibiotics, making infections harder to treat and more expensive to manage.
  4. Cross-Contamination: Biofilms can spread rapidly, contaminating other surfaces and equipment, leading to a chain reaction of infections.

Liquiflo: A Revolutionary Approach to Biofilm Control

Liquiflo is not just another cleaning agent—it’s a science-backed solution tailored to disrupt biofilms and enhance hospital safety. Here’s what sets Liquiflo apart:

Key Features of Liquiflo:

  1. Biofilm Penetration: Liquiflo’s unique formulation allows its active ingredients to break through the protective matrix of biofilms. This exposes the microorganisms within, making them vulnerable to cleaning agents.
  2. Wide Application: From stainless steel surgical tools to hospital-grade plastics and complex water systems, Liquiflo works effectively across a broad range of surfaces.
  3. Residual Protection: After application, Liquiflo leaves a protective barrier that prevents biofilm reformation, providing lasting protection against microbial contamination.
  4. Eco-Friendly Formula: Liquiflo is designed to be safe for healthcare workers, patients, and the environment, ensuring that its powerful effects don’t come with harmful side effects.

Where Liquiflo Excels in Hospitals

Medical Devices: Biofilms can compromise the sterility of reusable medical devices, leading to HAIs. Liquiflo’s deep-cleaning action ensures devices like endoscopes, surgical tools, and catheters remain biofilm-free.

Water Systems: Hospital water systems can become breeding grounds for biofilms, which are often invisible but highly dangerous. Liquiflo, when used in routine flushing, keeps these systems clean and safe.

Hospital Surfaces: High-touch areas like bed rails, patient tables, and nursing stations are hotspots for biofilms. Liquiflo ensures these surfaces are sanitized to prevent cross-contamination.

The Real Impact of Liquiflo on Hospitals

Enhanced Infection Control: By eliminating biofilms at the source, Liquiflo drastically reduces microbial loads, cutting the risk of HAIs and improving overall patient safety.

Cost Efficiency: Biofilm-related infections often lead to prolonged hospital stays and additional treatments, inflating costs. Liquiflo prevents these complications, saving hospitals time and money.

Regulatory Compliance: Hospitals must meet stringent infection control standards. Using Liquiflo helps facilities stay ahead of compliance requirements, maintaining their reputation and operational integrity.

Best Practices for Implementing Liquiflo

To maximize Liquiflo’s effectiveness, hospitals should incorporate it into their standard cleaning and maintenance protocols:

  1. Scheduled Cleaning: Apply Liquiflo to high-touch surfaces and medical devices during routine cleaning schedules to maintain sterility.
  2. Water System Maintenance: Regularly flush water systems with Liquiflo to prevent biofilm buildup and ensure clean water supply.
  3. Staff Training: Educate healthcare workers on biofilm risks and proper Liquiflo application techniques to ensure consistent results.

Why Liquiflo is a Game-Changer

Biofilms have long been a formidable challenge in hospital infection control. With Liquiflo, hospitals now have a robust tool to combat this persistent problem. Here’s why Liquiflo stands out:

  • Proven Science: Liquiflo attacks biofilms at the molecular level, ensuring complete elimination rather than temporary masking.
  • Long-Lasting Protection: Its residual barrier prevents reformation, offering peace of mind and ongoing defense.
  • Wide Applicability: From complex medical devices to entire water systems, Liquiflo adapts to any hospital environment.

Ready to Revolutionize Infection Control?

Don’t let biofilms jeopardize patient safety and hospital reputation. Liquiflo is the partner you need to tackle this invisible threat head-on. Discover how Liquiflo can elevate your infection control measures and create a safer, cleaner environment for everyone.

Contact us today to learn more about Liquiflo and how it can transform your hospital’s approach to biofilm management.

How to Remove Sand from Drainage Systems After a Hurricane: Your Complete Guide with Sewerflo

Hurricanes like the ones that recently impacted Tampa, Florida, can leave behind more than just property damage. A significant challenge for both homeowners and city infrastructure is the immense amount of sand and debris that clogs drainage systems. Sand accumulation in storm drains and sewer lines can lead to long-term flooding issues, costly repairs, and environmental hazards. Luckily, with Sewerflo, you have an effective solution to tackle this problem head-on.

Why Sand in Drains is a Big Problem After Hurricanes

Hurricanes bring not only torrential rain but also intense winds that transport massive amounts of sand and debris into drains and sewer systems. As the storm subsides, this sand settles, hardens, and clogs the drainage lines, making it difficult for water to flow freely. Blocked drains can cause significant flooding in streets, basements, and parking lots long after the storm has passed.

How Sewerflo Can Help: A Simple and Effective Solution

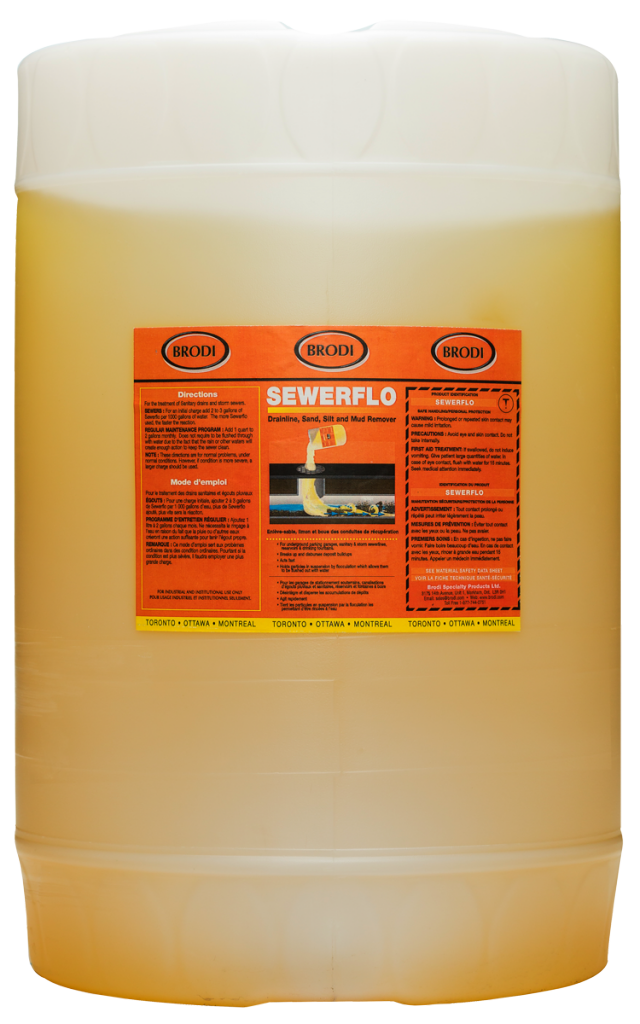
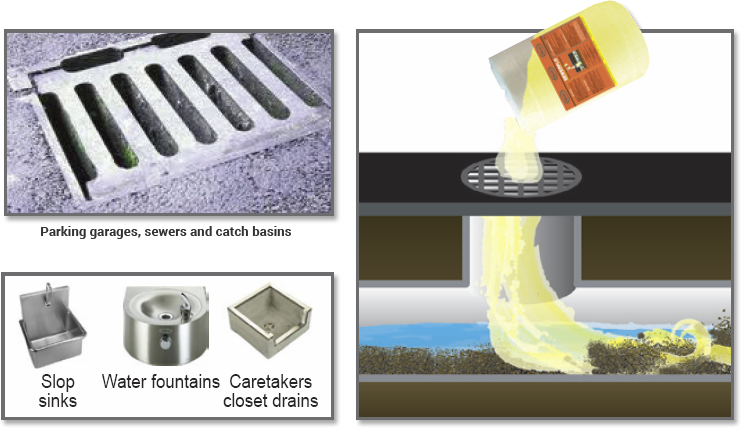
Sewerflo is specifically designed to address the sand, mud, and silt buildup that hurricanes leave behind. This powerful solution penetrates settled, caked-on soils and breaks down their adhesive and cohesive forces, making sand particles more buoyant and easier to flush out of drains. The best part? It prevents redeposition downstream, ensuring that the sand doesn’t create a new blockage.

Step-by-Step Guide to Using Sewerflo for Hurricane Cleanup

1. Inspect the Drain System

After the storm, inspect the storm drains, sewer lines, and catch basins for any visible debris and sand accumulation. In severe cases, the sand may have already blocked the drain’s ability to move water.

2. Manual Removal of Large Debris

Before applying Sewerflo, remove any large items such as branches, trash, or other debris that may be blocking the drain inlet. This will help maximize the efficiency of Sewerflo when you pour it into the system.

3. Apply Sewerflo to the Affected Drains

For sand-filled drains, pour 1-2 gallons of Sewerflo per 1,000 gallons of water directly into the system. Sewerflo’s unique formula will begin breaking down the compacted sand, loosening it from the drain walls and holding it in suspension.

4. Flush the Drain System

Once Sewerflo has been applied, flush the system with water, either using a fire hose, a hydraulic jet pump, or by simply allowing the next heavy rainfall to wash it through the pipes. Sewerflo will help ensure that all the sand, silt, and mud are carried away without clogging downstream areas.

5. Regular Maintenance

For areas that are prone to sand accumulation, like Tampa’s storm drains after hurricanes, it’s essential to use Sewerflo regularly. Monthly maintenance can prevent blockages before they become a serious problem. Simply pour a small amount into your drains, ensuring free-flowing systems throughout hurricane season and beyond.

Addressing Mold and Potential Health Issues with AC Gel Pucks: An Effective Solution

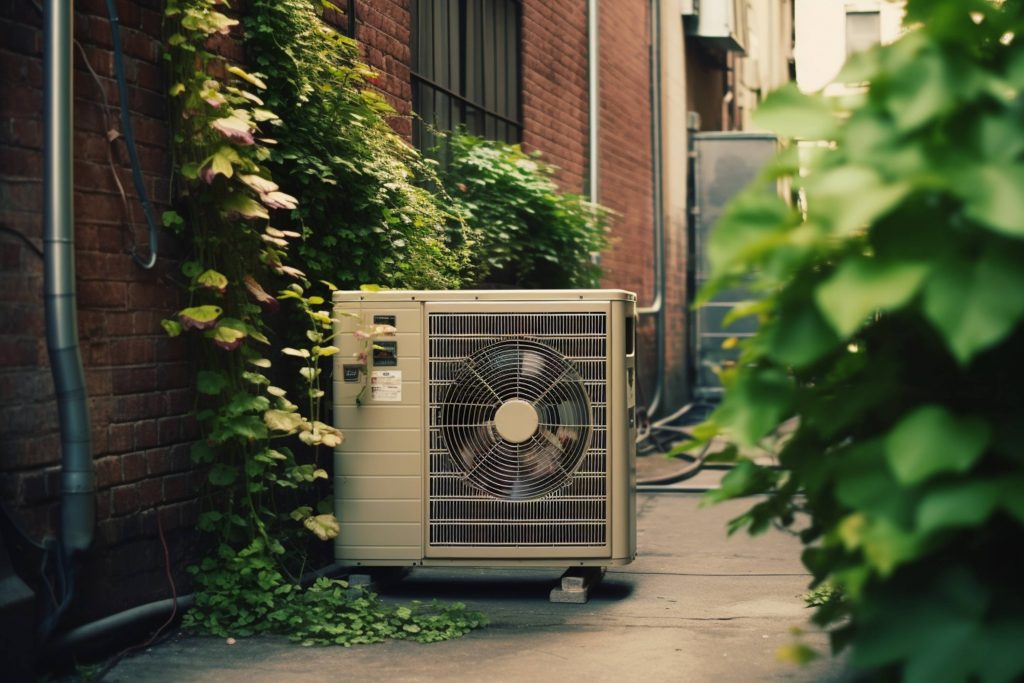
The outdoor AC unit compressor is installed outside the building.

Mold growth in air conditioning systems can lead to a range of health issues and affect the overall indoor air quality. It’s crucial to address this problem effectively to ensure a clean and healthy environment. In this blog, we will explore a product called AC Gel Pucks, specifically designed to tackle mold and prevent potential health risks associated with it. Let’s dive in and discover how these condensate pan cleaning tablets can provide a practical solution.

Understanding the Problem:

Mold thrives in warm and humid environments, making air conditioning systems an ideal breeding ground. As condensation occurs within the system, it accumulates in the condensate pan. Over time, this moisture creates a perfect habitat for mold growth. When left unattended, the mold can spread throughout the system, leading to air contamination and health issues such as allergies, respiratory problems, and even infections.

Introducing AC Gel Pucks

AC Gel Pucks, offered by Brodi, are specifically formulated tablets designed to combat mold growth in air conditioning systems. These tablets are placed in the condensate pan, where they dissolve slowly, releasing an effective cleaning gel. The gel’s unique properties inhibit mold growth, break down organic matter, and prevent clogs, ensuring a cleaner and healthier system.

Benefits of AC Gel Pucks:

Mold Prevention 

The primary purpose of AC Gel Pucks is to prevent mold growth in the condensate pan. By inhibiting the growth of mold, these tablets address a significant cause of indoor air pollution, promoting a healthier living environment.

Improved Indoor Air Quality

By eliminating mold and organic matter, AC Gel Pucks contribute to improved indoor air quality. Cleaner air reduces the risk of respiratory issues, allergies, and other health concerns associated with poor air quality.

Easy to Use 

AC Gel Pucks are designed for easy and hassle-free application. Simply place the tablets in the condensate pan, and they will slowly dissolve over time, continuously providing their cleaning and mold prevention benefits.

Long-Lasting Effects 

With a slow-dissolving formula, AC Gel Pucks offer long-lasting effects, providing ongoing protection against mold growth. Regular use of these tablets ensures that your air conditioning system remains clean and mold-free.

Cost-Effective Solution

Investing in AC Gel Pucks can save you money in the long run. By preventing mold growth and maintaining a cleaner system, you reduce the risk of costly repairs, maintenance, and potential health-related expenses.

Conclusion

Maintaining a clean and mold-free air conditioning system is essential for both the longevity of the system and the health of its occupants. AC Gel Pucks offer a practical and effective solution to combat mold growth and prevent associated health issues. By using these condensate pan cleaning tablets, you can enjoy improved indoor air quality, peace of mind, and a healthier living environment. Consider incorporating AC Gel Pucks into your regular air conditioning maintenance routine and reap the benefits of a cleaner, mold-free system.

A Step-by-Step Guide to Unclogging Your AC Condensate Drain Line

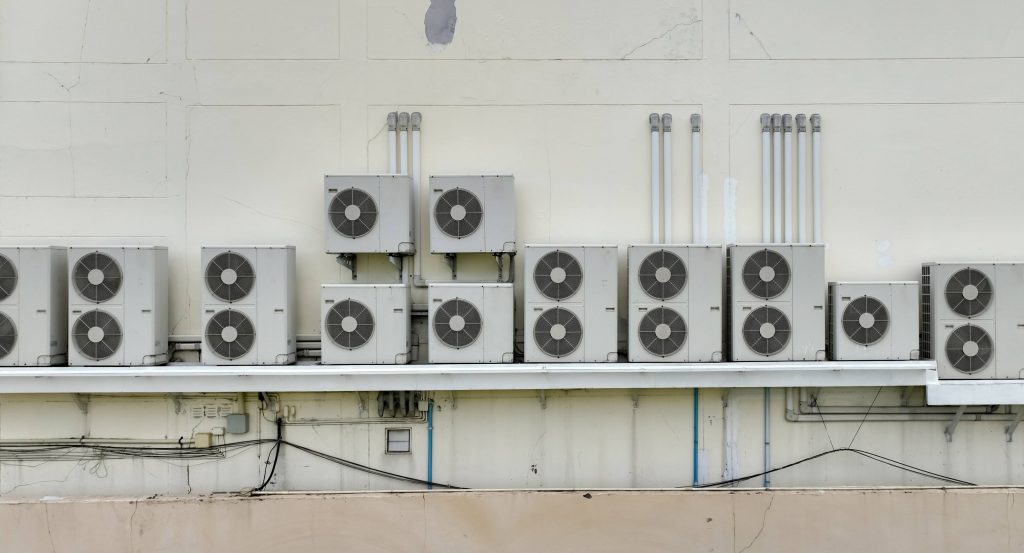
many-condensing-units-of-air-conditioners

With the summer heat blazing outside, your AC unit, including the condensing unit, condensing coil, and condensing fan motor, becomes your best friend in keeping your indoor space cool and comfortable. However, an often-overlooked maintenance task is ensuring that your AC condensate drain line, pipe, tray, and even the unit’s condensate pump remain clear of any clogs. A clogged condensate drain line can cause water leakage, reduced cooling efficiency, and potential damage to your system. Fortunately, unclogging the drain line is a relatively simple task that can be done with a few basic tools and a little patience. In this blog, we’ll walk you through a step-by-step guide on how to unclog a clogged AC condensate drain line and maintain a properly functioning AC unit.

Step 1: Turn Off the Power:

Before you begin any work on your air conditioning system, it’s crucial to ensure your safety. Locate your AC unit’s circuit breaker and switch off the power supply to the condensing unit and its components. This will prevent any accidental electrical shocks while working on the condensate drain line.

Step 2: Locate the AC Condensate Drain Line, Pipe, and Tray:

The AC condensate drain line is usually a PVC pipe located near the indoor air handling unit or the furnace. It is typically white or gray in color and has a T-shaped fitting with a capped end. Additionally, locate the AC condensate pipe and tray, which may be connected to the condensing unit. Familiarize yourself with these components before proceeding.

Step 3: Inspect for Clogs:

Using a flashlight, inspect the AC condensate drain line, pipe, and tray for any visible clogs. Look for accumulated debris, such as dust, dirt, algae, or mold. These can often be seen near the openings of the drain line, pipe, or inside the tray. If you can see a blockage, proceed to the next step.

Step 4: Clear the Clog in the AC Condensate Drain Line:

To clear the clog in the AC condensate drain line, you can use one of the following methods:

a. Using a Wet/Dry Vacuum: Attach the vacuum to the end of the drain line or directly over the opening. Create a tight seal around the opening to maximize suction power. Turn on the vacuum and allow it to draw out the clog and any trapped water. Repeat the process several times until the line is clear.

b. Flushing with Water: If you don’t have a wet/dry vacuum, you can try flushing the drain line with water. Use a funnel or a small container to pour a mixture of equal parts white vinegar and water into the drain line. The vinegar helps dissolve the clog and inhibits future algae growth. Let the mixture sit in the line for about 30 minutes. Next, flush the line with clean water to remove the dissolved debris. Repeat this process if necessary.

Step 5: Clean the AC Condensate Tray and Components:

While the clog is removed, take the opportunity to clean the AC condensate tray and other components. Use a mixture of mild detergent and warm water to scrub away any accumulated dirt or grime. Rinse the tray thoroughly and dry it before reassembling.

Step 6: Check the AC Condensate Pump (if applicable):

If your AC unit has a condensate pump, inspect it for any clogs or malfunctions. Refer to the manufacturer’s instructions on how to maintain and troubleshoot the pump. Clean or repair as necessary to ensure proper functioning.

Step 7: Reassemble and Test:

Once the AC condensate drain line is clear, the tray is clean, and any issues with the condensate pump are resolved, reassemble the components. Replace the cap on the drain line and ensure it is secured tightly. Restore power to your AC unit and let it run for a while. Check for any leaks around the drain line or the condensing unit. If everything looks good, congratulations! You’ve successfully unclogged your AC condensate drain line and ensured the smooth operation of your AC unit.

Preventative Maintenance Tips:

To minimize the risk of future clogs in the AC condensate drain line and related components, consider the following preventative measures:

Regularly inspect and clean your air filters to prevent dust and debris buildup. Keep the area around the condensate drain line, pipe, tray, and condensing unit clear of any obstructions.

Use a condensate drain line cleaning solution periodically to inhibit algae and mold growth.

Schedule annual professional maintenance for your AC unit, including a thorough inspection of the condensing unit and its components.

To really take care of the situation, try out Brodi’s AC Gel Pucks for maximum treatment. Our industrial grade product prevents slime, sludge and fungus accumulation which can lead to bacteria growth, potentially causing infections.

By following these steps and practicing preventative maintenance, you can keep your AC unit and its condensate system running smoothly throughout the summer months, ensuring optimal cooling efficiency and avoiding potential issues down the road.